Showing posts with label Easter. Show all posts

Happy Easter

Happy Easter.  Just popping in to say hello, wishing you and your family a very Happy Easter!

Just a quick little project to share, that I made a few weeks ago at our last Avid Inkers meet up.  A really sweet project and perfect for making lots of!!
 

I love the little daffodil we made with the Petite Petals punch and coordinating sunset.  So cute!!


To make a little Easter Egg pouch, you can find lots of ideas and inspiration at Pinterest.


Happy Easter xx

Easter mini Baskets

I know it's Easter and I should be off the computer, but I really had to share these oh so cute, tiny little Easter baskets.  Perfect for Easter!


I found this project idea on Pinterest (but of course), and I knew (I just knew) I had to make them as little table gifts for my three gorgeous children!


They really are tiny.  As small as small can be!  After all, they are made with a 3 1/2" square.


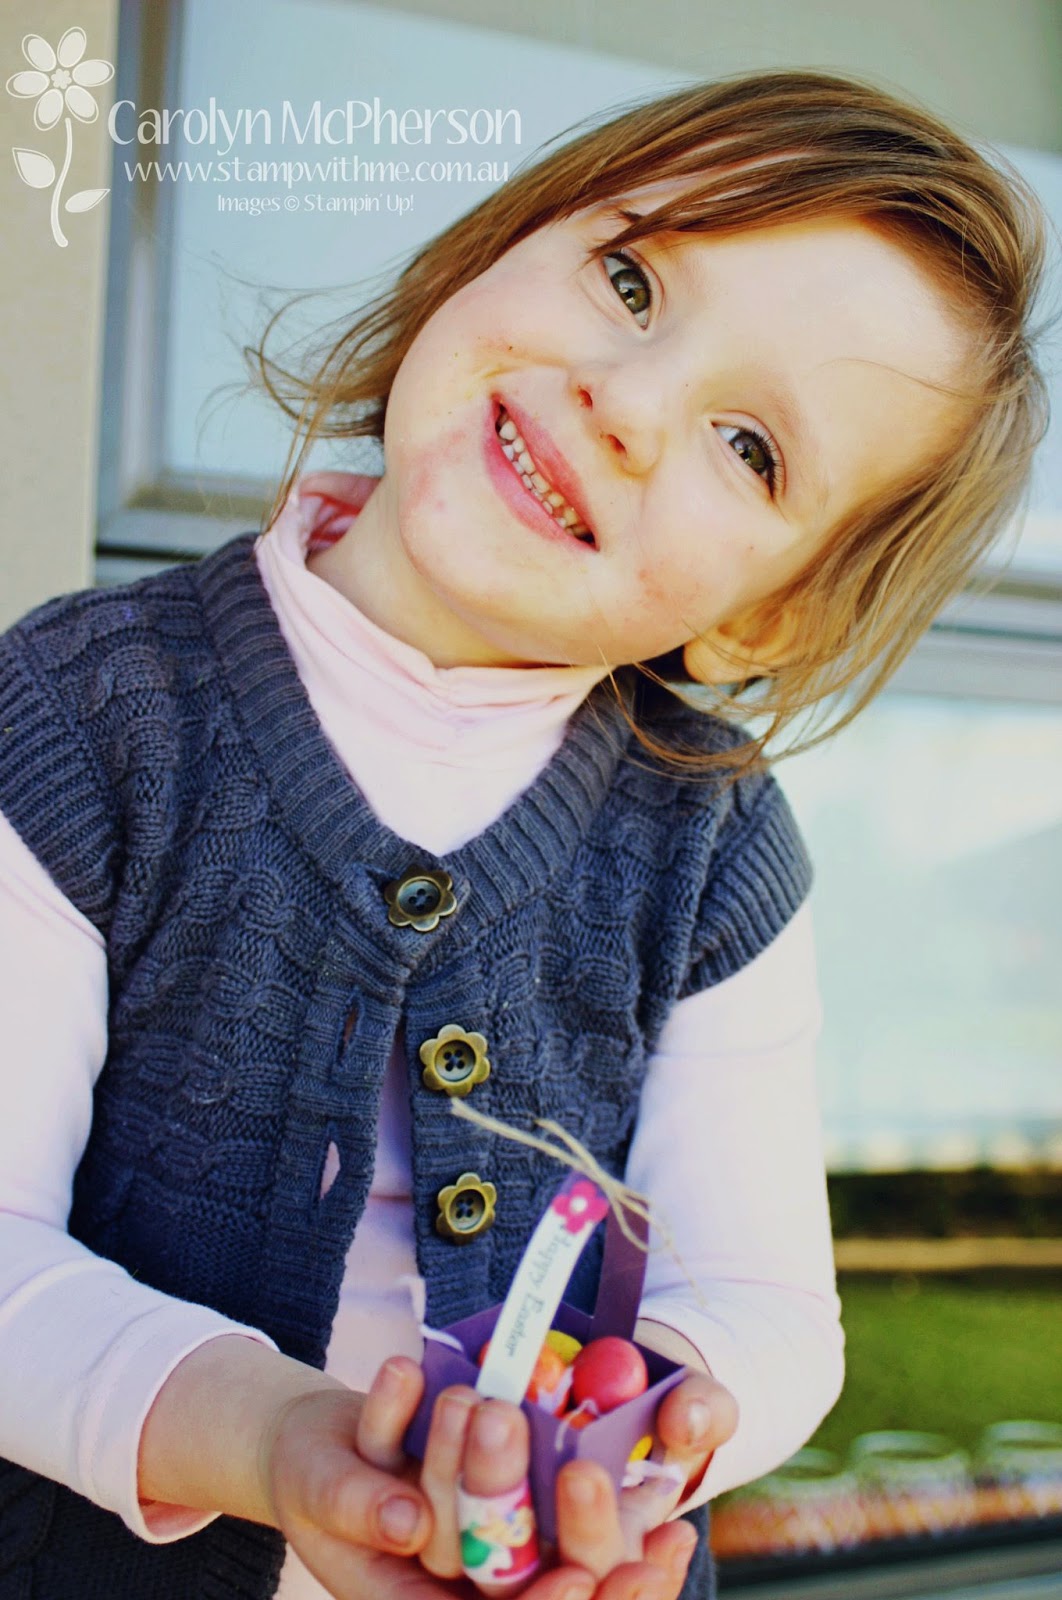
My gorgeous girl holding the tiny boxes (yes, bandaids and all!).


Tinier than her small hands!


You can find the tutorial here: At nice people stamp!

Happy Easter

Just popping in to say Happy Easter to you all!  I am also sharing the cards I made for my family (which I hope they've received in the mail by now!!).  Otherwise, family - don't look!

I made a series of cards using the Eggstra Spectacular stamp set (which I love) and the pretty colour of Coastal Cabana.


I coordinated the Coastal Cabana CS with the Afternoon Picnic Designer Series Papers.  That pack of papers is absolutely gorgeous!  I hope I remember to buy another pack before they're gone.


 I used Coastal Cabana as the feature colour, coordinated with Very Vanilla CS and lots of sponging with Crumb Cake ink.


I have used a selection of punches and linen thread.  The linen thread coordinates beautifully with the vintage look of sponging.


I didn't use up much of the papers as I thought I would, which means lots left to make other projects.  Starting with maybe, scrapbooking today's Easter.


To make this project, you need the following supplies:

Stamps: Eggstra Spectacular & Teeny Tiny Sentiments
Papers: Very Vanilla & Coastal Cabana CS, Afternoon Picnic DSP
Inks: Crumb Cake & Basic Black
Accessories: Linen Thread & Pearls
Punches: 1-3/4 Circle Punch, 2-3/8 Scallop Circle Punch, Large Oval Punch, Scallop Edge Border Punch & the flower from Itty Bitty punch set

To make this set of cards, you can be inspired by mine or purchase the tutorial from Chic n' Scratch.

Happy Easter!

Another Easter Basket

Okay, Easter is over for 2013 (although some places still celebrate Easter Tuesday)!!  But I just wanted to share one more Easter project that I made.  These adorable Easter Baskets.  I made a few of these for the girls at work, filled them with chocolates and Easter eggs.  And then listened for the Wows!! 


This little basket is based on a picnic basket.  It amazingly uses less than one piece of A4 cardstock and can be made in different sizes, colours and papers!  I've used Crumb Cake to make it look more like a basket!


I held my baskets together with a staple here and there, sticky strip and brads for the handles.  There are quite a few directions on the internet to make these, here's one for reference: Trio of Baskets.

They even look cute from the back!


I've added a little stamped tag, cut with the label punch and tied off with Bakers Twine.  I've used retired Easter stamps that I just couldn't part with!!  Stay tuned over the next few days to more ideas with the Basket!!

Bunny Baskets

Well, it's the day after Easter (I love Easter Mondays by the way) and I'm still surrounded by a whole load of chocolate eggs.  Amazingly my kids didn't eat many chocolate eggs at all today.  Maybe too much yesterday??

So as promised, I wanted to share one of my adorable Easter projects with you.  I can't claim the original idea, but the bunny is so adorable I just had to make one!


 Don't you just want to go Aaaawwwww.  It's so cute!!

I copied the inspiring instructions almost completely but adapted with what I had!!  I used Sahara Sand CS for the bunny, stamped with VersaMark ink using the now retired Sprinkles stamp set.  I used the More Amore Speciality DSP for the ears and a scrap of Raspberry Ripple for the nose.


My bunny is sitting on the front of a box, that I've cut with my fab Big Shot and used a strip of DSP for interest.  I also stamped a little egg and cut out with my small oval punch.  So cute.

For the full instructions and inspiring pic's head on over to the SU website.  So so cute!!


Happy Easter

Just popping in to wish you all a Very Happy Easter.  At the moment, I have children playing with toys and/or their Easter Eggs.  Jessica especially!!  She keeps sneaking off and hiding into corners eating more and more chocolate.....  As for me I'm currently surrounded by three computers as I continue to sort out our computer chaos!! 

As for me, I wanted to share a few of the Easter Cards I sent to my family this year.  All of them use different forms of punch art.


I just love this card.  It's actually the inside of the card showing a cute little bunny poking its head through the hole....


Bunny bottoms are so adorable with their little tails!!


Another cute little bunny.  Again all using simple punch art designs.


Easter chicks hatching out of their eggs.  Eggs were made using the oval punch and cutting a zig-zag pattern across.


I'll be back tomorrow with a final presentation of my Easter art for 2013.

So I hope you and your family are enjoying your day too.  I love Easter for all its traditions!

Easter Boxes

OK, back to stamping and paper projects!!  Last month I shared the 'tissue box' card we made at our last Avid Inkers meeting.  Well finally I have found a moment to share the second project we made as we start heading towards Easter!  It's such a cute little project!


Ta Da!!  We made these cute little matchboxes, appropriately decorated for Easter!  Oh I wish I wish I had a die to cut these little boxes.  Imagine how many you could make quickly!!


I used the Sycamore Street papers from Sale-a-Bration as my feature paper and of course, matched it perfectly with Summer Starfruit as my box base.  Touches of Island Indigo and Tangerine Tango to match!!

I only had a stash of M&Ms to put in my Easter box.  Of course, it didn't take long for Jessica to find them, so they're only a few left!!


And because I love you all, I've also got the instructions for you too, so you can make along with me!!

Our project inspiration - courtesy of Annette McMillan (Avid Inkers)
 Supplies:
Cardstock in bright colour: 6 ¼ “ X 2 5/8 “; and 5 ¼ “ X 4 5/8 “ plus scrap for punching
Co-ordinating DSP 2” X 2 5/8 “
Acetate 2” X 2 5/8”  
Small scraps of coordinating card/DSP for punching
Wide oval, word window, scallop ribbon and itty bitty shapes punch (4 petal)
Pearls
Paper cutter with scoring blade

  1. Use oval frame to emboss DSP.
  2. Punch centre of frame with wide oval. 
  3. Place pencil mark on wide panel of box cover and punch wide oval so that it is in line with oval in DSP.
  4. Stamp greeting on scrap and punch with word window.  Punch 2 strips of scalloped ribbon and adhere to back of word window.
  5. Adhere DSP to front of punched panel in box cover and adhere acetate to back of the same panel.
  6. Adhere greeting across “window”
  7. Use bone to fold score lines and adhere narrow strip inside 5/8” strip to form box cover.
  8. Score box on all sides at 5/8 “ and 1 5/16”.
  9. Crease on score lines using bone then cut out tabs as per template.
  10. Stick tabs inside long sides then stick long sides down, then short sides.
  11. Punch 6 itty bitty flower shapes and stick together to form 3 flowers. 
  12. Attach a pearl to centre of each flower and adhere to front of box cover. 


Go for gold!

Firstly I would like to apologise for my absence this week.  My beloved little dog Jack passed away on Tuesday last week.  We've been so heartbroken that it was difficult to blog projects and talking upbeat when we were just so sad.  And then I've just returned from a weekend in Melbourne catching up with my family and friends, oh and sharing Stampin' Up! too.  I'm becoming an expert at packing for workshops and parties, remembering to not put my scissors on the on-board luggage!

So today I wanted to share a beautiful project I found on the Stampin' Up! blog and I think it's just perfect for Easter.  So much so, I'm heading to the craft shops tomorrow to get me some eggs!!

Image Source: http://www.stampinup.com/home/blog-post/corporate-blog/2013/03/08/go-for-the-gold  
These eggs are just beautiful and I want to just make them myself!!  Please note this picture of the golden eggs are taken directly from the Stampin' Up! home blog and can be located by clicking on this link.  And just think, they were craft eggs, coated in spray adhesive and then rolled in Champagne Glass Stampin' Glitter.  A perfect project for Easter.

So thanks for visiting and apologies for my absence.  I'll be back over the next few days with lots of projects to share.

Chocolate Boxes

Well, I'm back from a week away in Melbourne for Easter (well not quite a week, but it took me that long to recover from unpacking, washing, sleeping etc!!) and I've not had a chance to sit down and create until today.  I have started making thank you cards for all the lovely things in Melbourne that I am grateful for.  I won't share them today as I hadn't finished them quite yet!  But I did want to come back after my Easter Sunday post - click here - where I showed a little transparent box full of Easter Eggs!


This idea was completely inspired ("copied") from the lolly boxes we had the tables at our Stamp Camp.  Our Nautical Expeditions Stamp Camp just happened to be held on St Patrick's Day, so there was a certain amount of green there!!  These boxes use the Petal Cone Die from Stampin' Up! and have been adjusted to make boxes instead of cones.  How cool is that!


Each little box was stamped with green and a little Sentiment was added!  I was lucky enough to be able to take one home and used it to inspire my Easter Box!


 I love how so many of the Stampin' Up! products are versatile for other things.  And using Window Sheets to make see-through boxes to hold Easter Eggs was just divine!!


And did you know you can also use your Embossing Folders to emboss Window Sheets.  Cool!

Easter Cards

Do you make Easter Cards?  I do.  Living in a different state from my family - I don't often get to spend Easter with my extended family, so I love to send them handmade cards instead.  This year I used punch art to design my cards and I had a lot of fun doing so!


So it's Easter Saturday and as usual I'm cooking Hot Cross Buns and the like at the very last minute, so it was lucky I had prepared these cards in advance!!  These cards were very cute.  Next year, I will have instructions prepared for my monthly workshops and Stamp @ Home classes. 

Happy Easter

Just popping in to wish you and yours a very Happy Easter.  May it be a safe and happy one, with all the ones you love the most!


I hope the Easter Bunny was good to you all!


And that the meaning of Easter remains true with you.

And if you're wondering what Easter cards I was sending out this year - well it's simple really!  The beautiful cards made with the Easter Blossoms stamp set.  Has to be one of my favourites ever.   Hope it makes it's way into the next 2011-2012 Idea Book & Catalogue!


And for a bit of fun:


Stamp @ Home - Easter Blossoms

Introducing my March Stamp @ Home class, using the beautiful Easter Blossoms stamp set, currently available in the Summer Mini Catalogue!


March 2011 - Easter Blossoms


In this Stamp Class, use your Easter Blossoms stamp set to make four beautiful cards just in time for Easter.  Don't need Easter Cards?  Change the sentiments to suit the occasions.  Make a matching box too - perfect for hiding little chocolate eggs inside!

Happy Easter

Wishing you and your family, a very Happy Easter!  Hoping that you spend the day safe, with family and friends.

Just wanted to show you the Easter cards I made for my family based on the Eggcroutrements class I offered last month!


An Easter Scrap Layout

Last Friday night (at our monthly scrap night), I started my Easter 2009 scrap layout.  I struggled and struggled for a while, but finally over the weekend I was able to pull it together and finish my two page layout.  Well, almost finished ... I still need to do my title.  Must pull out my Cricut, dust it off and give it a whirl! 


Disregarding my Dutch tablecloth in the background, you can see my totally handmade layout.  Both pages have clouds sponged with Bashful Blue using a scallop circle as a template.  I made my fence with Close to Cocoa CS and used my Weathered stamp & Close to Cocoa ink to give the fence posts 'texture'.


I wanted to combine my Easter layout with the feeling of Spring colour and Easter images.  Quite funny actually, seeing as Easter falls in Autumn here in Australia!!

I'm not sure if you can see my butterflies punched from Almost Amethyst DSP and highlighted with glitter.  The detail of the punch is amazing!!  So here's a closer look:


  Now I'll try and remember what I used (there's a fair bit!!):

Stamps: Chocolate Bunny, A Good Egg & Eggcroutements
Inks: Close to Cocoa, Bashful Blue, Certainly Celery, Pixie Pink & Lavender Lace
Papers: Whisper White, Pretty in Pink, So Saffron, Certainly Celery, Almost Amethyst, Old Olive & Close to Cocoa CS and Tea Party DSP
Punches: SU Scallop Edge, Butterfly & 1" circle & Detailed Butterfly (non-SU)
Other: Rhinestones, Pearls, Ribbon, Glitter, Paper Flowers, Stampin' Dimensionals, Sponge, White Signo Gel ink pen, Big Shot* & SU Little Leaves Die*

*Big Shot and Stampin' Up! Exclusive Dies will be available in the Autumn-Winter Mini Catalogue from Stampin' Up!.  Both will be available from 1 April 2010

Easter Cards & Tags

Now that I'm on top of my Easter boxes and baskets, I can now get back in the mode of Easter card making.  I promise ... they're almost done and I will move on to something else!!


This card was completely cased from one of my favourite blogs - Inking Idaho.  I visit it most days and love the projects I find there!!  Of course, I had to make the card mine, so I have made a few little changes!!

You might be able to see that embossed the background, and I stamped the pink egg with the flower stamp from the A Good Egg set and coloured in the centres with the white gel pen.  I so LOVE that pen, it's the best one on the market.  Thanks SU!!  I used:


Stamps: A Good Egg & Chocolate Bunny
Inks: Close to Cocoa and Pink Pirouette
Papers: Old Olive (textured), Pink Passion, Close to Cocoa and Pretty in Pink CS and Tea Party DSP
Other: White gel pen, scallop edge punch, oval punches, sponge daubers, ribbons and pom poms.


This tag was inspired by another blog find - click here to find the Stamptastic Blog.  I just wanted to use up some of my scraps from my Easter projects and make some tags.  As my nephews and nieces live in a different state to us, I send them gifts for Easter (like books), so it's great to be able to attach their own little tag!!

Here's what I used for this one (using scraps of course)!!

Stamps: A Good Egg
Inks: Chocolate Chip
Papers: Very Vanilla, Green Galore & Whisper White CS and Tea Party DSP
Other: Scallop Circle, 5 petal flower and Boho Blossom punches, white brad & grosgrain ribbon

Super Easy and a good way to use scraps.  I like it!!

LinkWithin

Blog Widget by LinkWithin
Blogging tips